How to connect
Using the web interface
The OpenStack Horizon Web Dashboard is available at the following address: https://fenix-vm.ccc.cea.fr. Upon connection you will be presented with a choice of authentication methods:
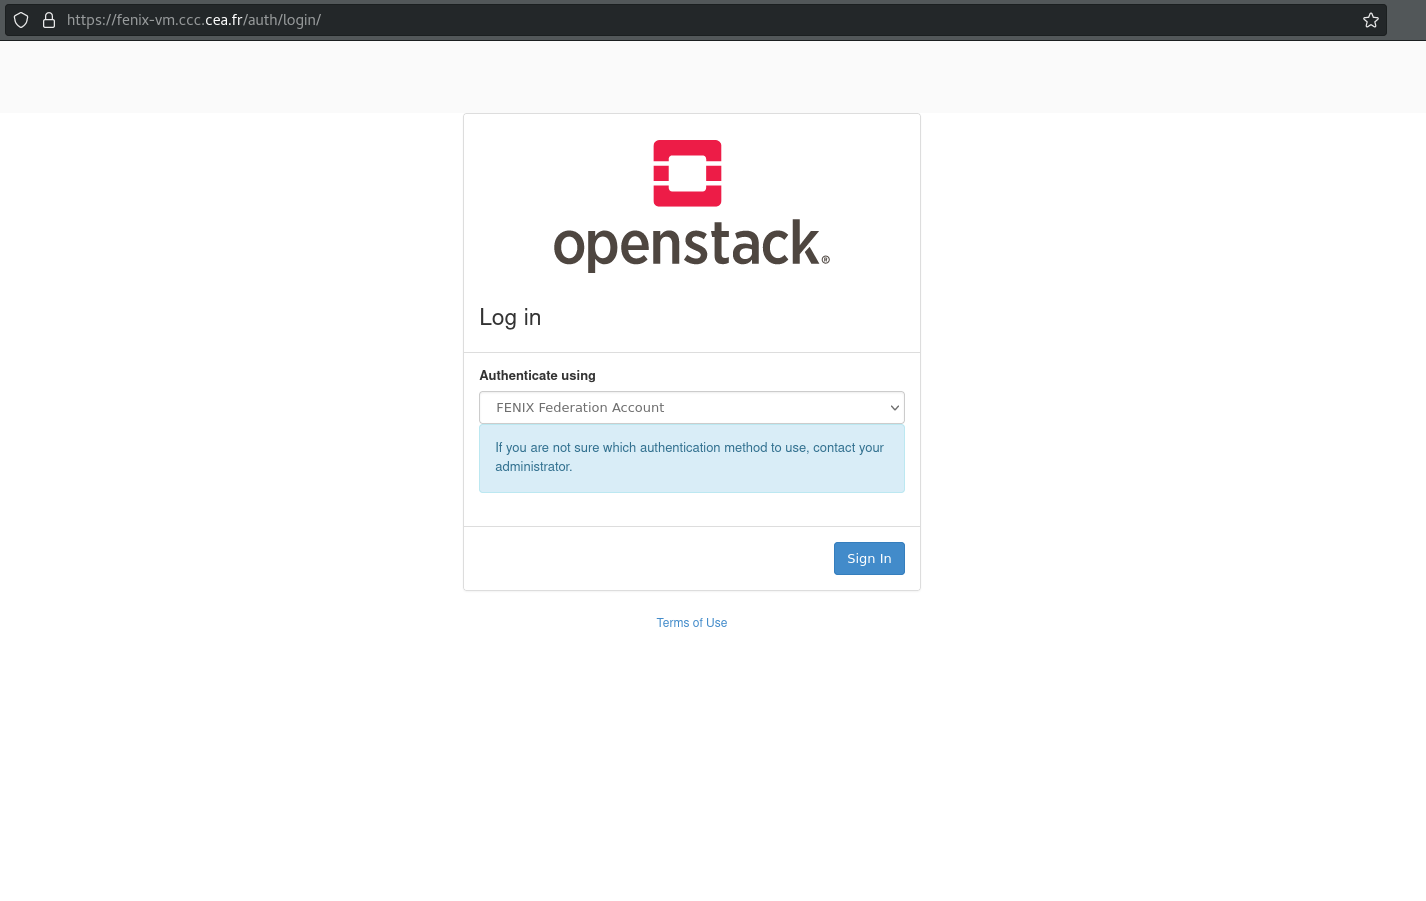
Select the appropriate method depending on the source of the credentials that you possess to authenticate to the platform. TGCC-EU and TGCC-FR correspond to credentials issued by TGCC for an EU or FR account. FENIX Federation corresponds to credentials issued by a FENIX federation partner site or institution such as HBP. Please note that having an account at TGCC or at a partner site or institution does not grant you automatic access to the TGCC cloud resources. You need to have been granted resources on the TGCC cloud to be authorized to access the web interface. In particular, you need to have an active OpenStack project. Please reach out to our hotline to clear up any confusion.
FENIX Federation Account
When authenticating with a FENIX federation account you will be redirected to the proxy Identity Provider (IdP) of the FENIX federation
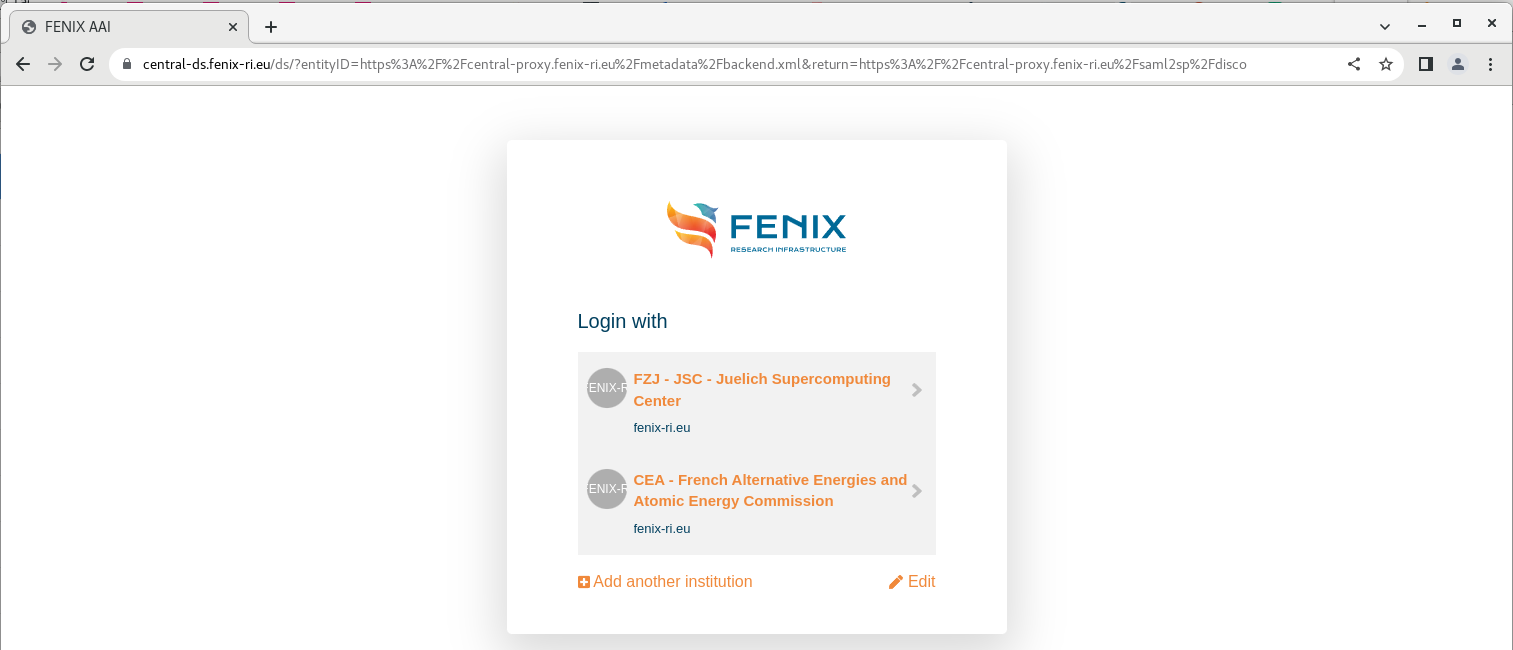
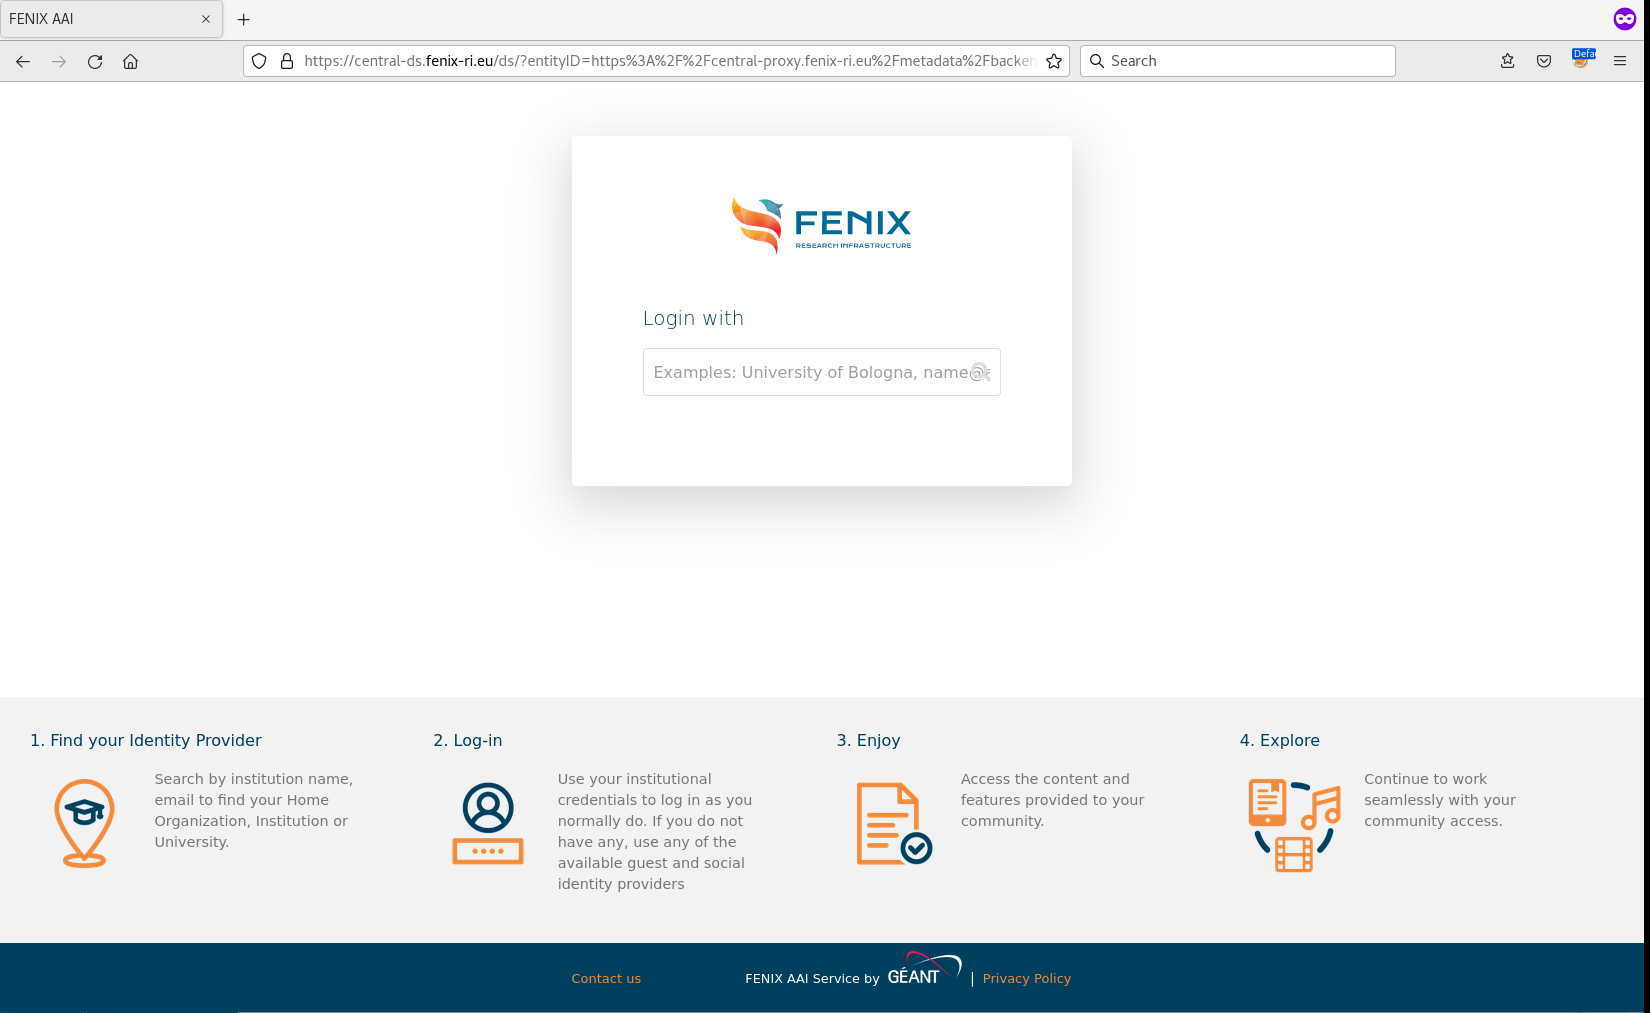
On the proxy page, select the partner site or institution whose credentials you want to use to authenticate to the platform. If this is your first time using the FENIX proxy, you will instead be presented with the form shown below where you may type the first letters of your institution name and select it in the list that appears.
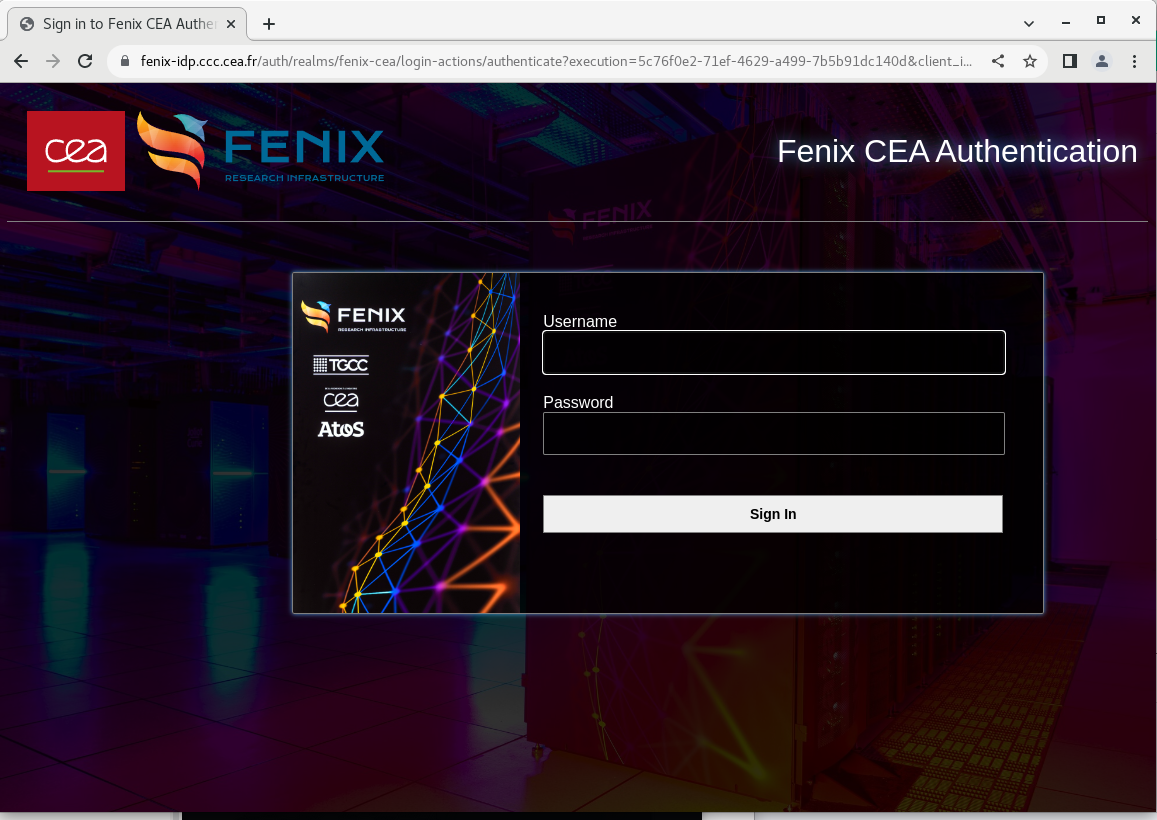
After having made your choice you will be redirected to the partner site or institution’s IdP where you can authenticate by providing your credentials. In case you are already authenticated in your current browser session this step will be skipped.
Once authenticated you will be redirected to the OpenStack dashboard.
TGCC-EU & TGCC-FR Accounts
When authenticating with a TGCC account you will be directly redirected to a TGCC authentication page, for example :
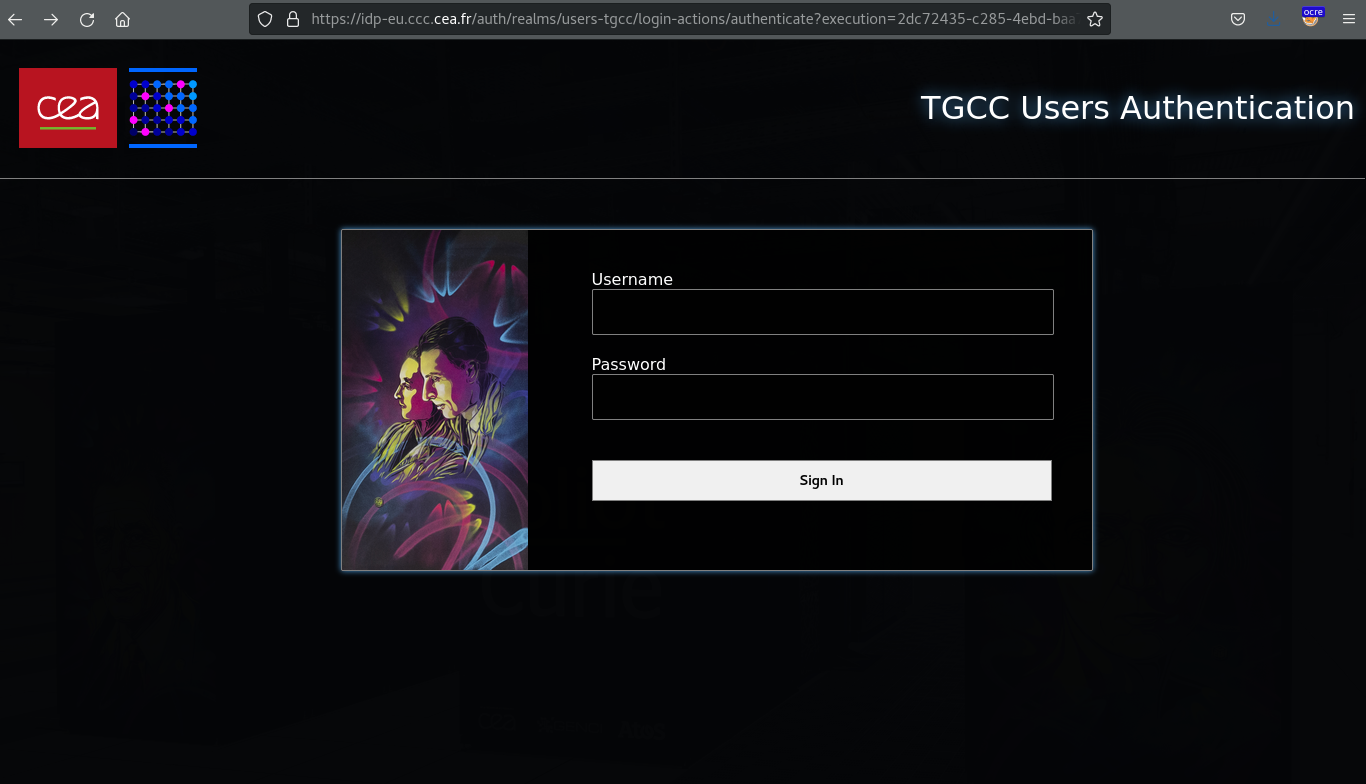
Once you are authenticated you will be redirected to the OpenStack dashboard.
Warning
If your password is expired, it is currently not possible to change it on this authentication page due to a limitation in the Keycloak IdP. You simply will be denied access and will not be warned about the expired password. A warning email is however sent a few days before passwords are set to expire. Please login to TGCC HPC services to change your password and regain access to TGCC cloud. This also applies if this is your first time using your TGCC account since accounts are created with a temporary and expired password that needs to be changed on first use.
Using the command line interface (CLI)
Using the OpenStack command line client is sometimes required for fine-grained control over the OpenStack API as some operations are not available in the web interface. It is also used for automating the management of cloud resources with scripts. The command line client is a Python application that can be installed from PyPI with pip. The OpenStack APIs are versioned and the client offers backwards compatibility, which means that you should be able to operate the TGCC OpenStack services by installing the latest OpenStack client.
Installing the client
Installing from PyPI with pip (any Linux distribution)
The easiest way to install the client is via pip as it doesn’t require administrative privileges for the installation. Follow the instructions on the OpenStack client PyPI page. Installing the client in a virtual environment (virtualenv) is recommended.
Most Linux distributions also provide packages for the command line clients. We provide some guidelines for common distributions below, however please refer to the documentation of your distribution for more detailed and up-to-date information.
RHEL/CentOS Stream/Rocky Linux and other derivatives
OpenStack packages are provided in a dedicated repository that needs to be enabled. There is one repository for each OpenStack version, here we use the caracal repository which is the latest available at the time of this writing.
# dnf install centos-release-openstack-caracal
# yum config-manager --set-enabled powertools
The package providing the OpenStack client is python3-openstackclient
# yum install python3-openstackclient
Ubuntu/Debian
The python3-openstackclient is available in default repositories
# apt install python3-openstackclient
Configuring the client
The client needs to be configured with the URL of the OpenStack Identity API and the authentication method. For command line access, our OpenStack deployment supports authenticating using application credentials.
Application credentials are tokens that can be generated by users of the platform which grant access to parts of the OpenStack API for defined time periods. Using application credentials improves security by removing the requirement of having to store your main user credentials on machines where you have to run the OpenStack CLI. If one of these machines is compromised and the application credential is stolen you can revoke that credential and only the resources that were associated with this credential are at risk in the meantime.
Application credentials can be generated from the web interface in the Identity menu
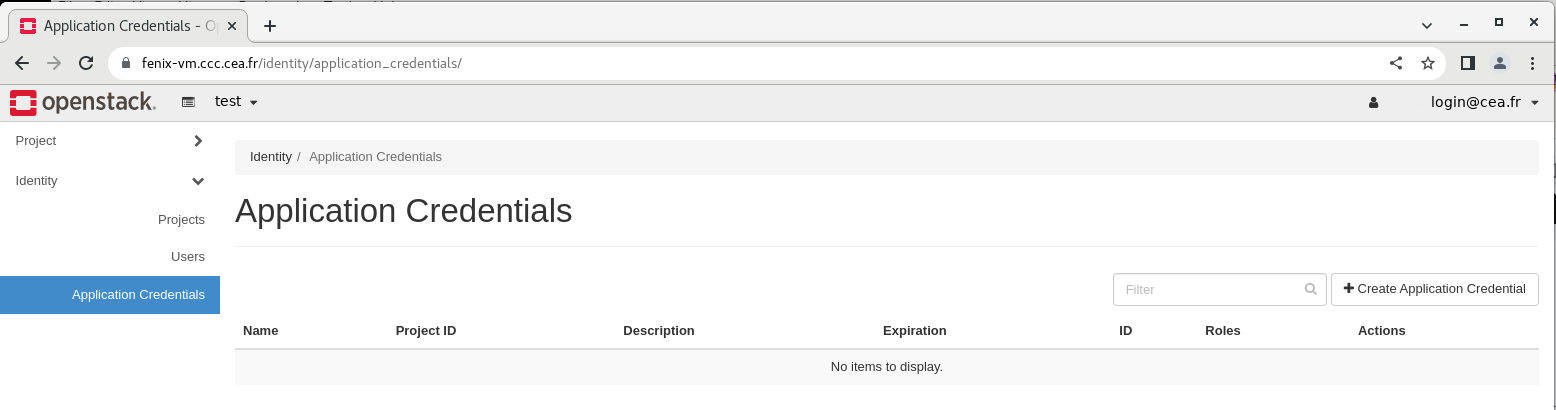
Click on button

Please select a name and an expiration date no more than 6 months in the future and rotate your credentials regularly. Leave the secret blank to have it auto-generated by the platform. If possible, further restricting the roles granted to the credential is also recommended.
Click on the button to obtain your application credential. This window will only be shown once, so please store your credential right away.
The easiest way to configure the CLI to use this new credential is to download a clouds.yaml file. You can download it by clicking . Make sure not to leave that file in a folder with inappropriate permissions such as your default download directory.
The file needs to be stored in $HOME/.config/openstack/clouds.yaml.
You may need to edit it slightly so that it looks like the following template:
clouds:
   tgcc:
     auth:
       auth_url: https://fenix-vm.ccc.cea.fr:5000/v3
       application_credential_id: <YOUR NEW CREDENTIAL ID>
       application_credential_secret: <YOUR NEW CREDENTIAL SECRET>
     region_name: "RegionOne"
     interface: "public"
     identity_api_version: 3
     auth_type: "v3applicationcredential"
To use the TGCC cloud resources you can now export the OS_CLOUD=tgcc
variable or pass the --os-cloud=tgcc argument to OpenStack commands,
for example:
# export OS_CLOUD=tgcc
# openstack server list