Quick start guide
This quick start guide details the minimum required steps to create a VM and access it via SSH. It is meant to provide first-time users with a general idea of how the OpenStack dashboard can be used for basic tasks. For more advanced usage of OpenStack, please refer to the official OpenStack documentation.
Before going through this guide, please complete the following steps:
You may now create a first VM as follows:
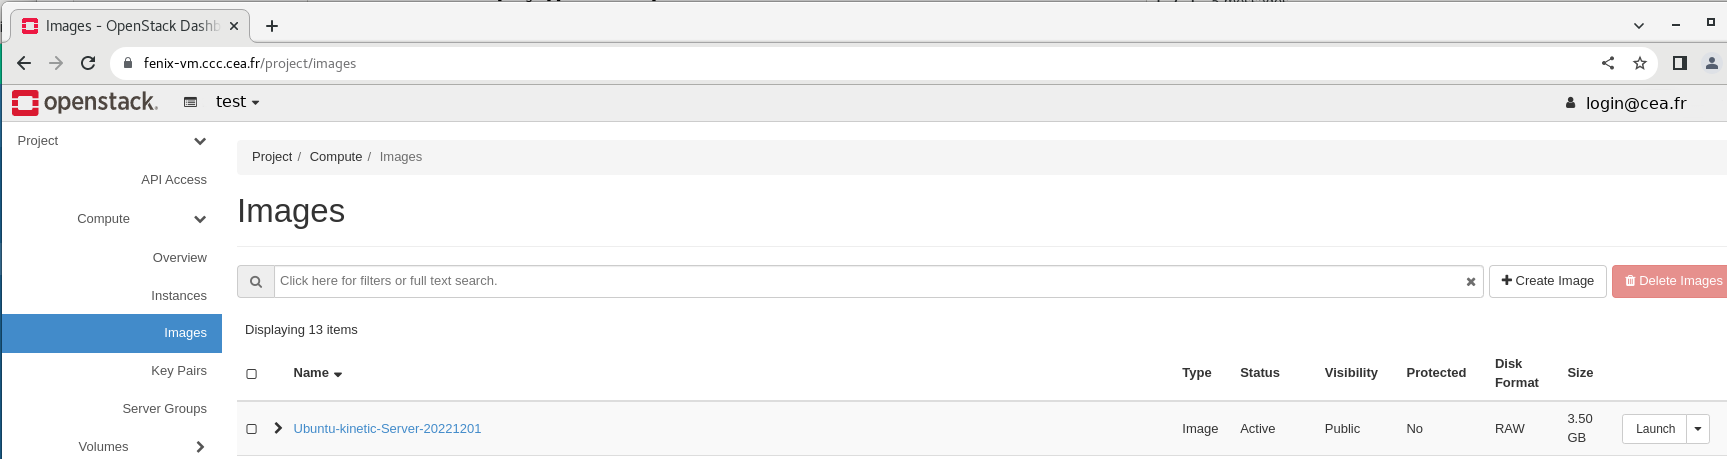
In the menu “Compute>images” choose an image and click on the button. These images contain minimal installations of Linux distributions to be deployed to your VM disk on first boot. They typically contain a SSH server that will allow you to connect to the VM in the next steps.
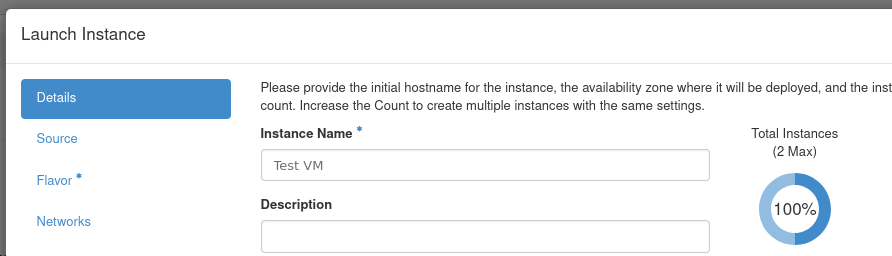
Give a name to your instance and click on button. Note that this name will be used as a hostname for your VM in your internal network DNS.
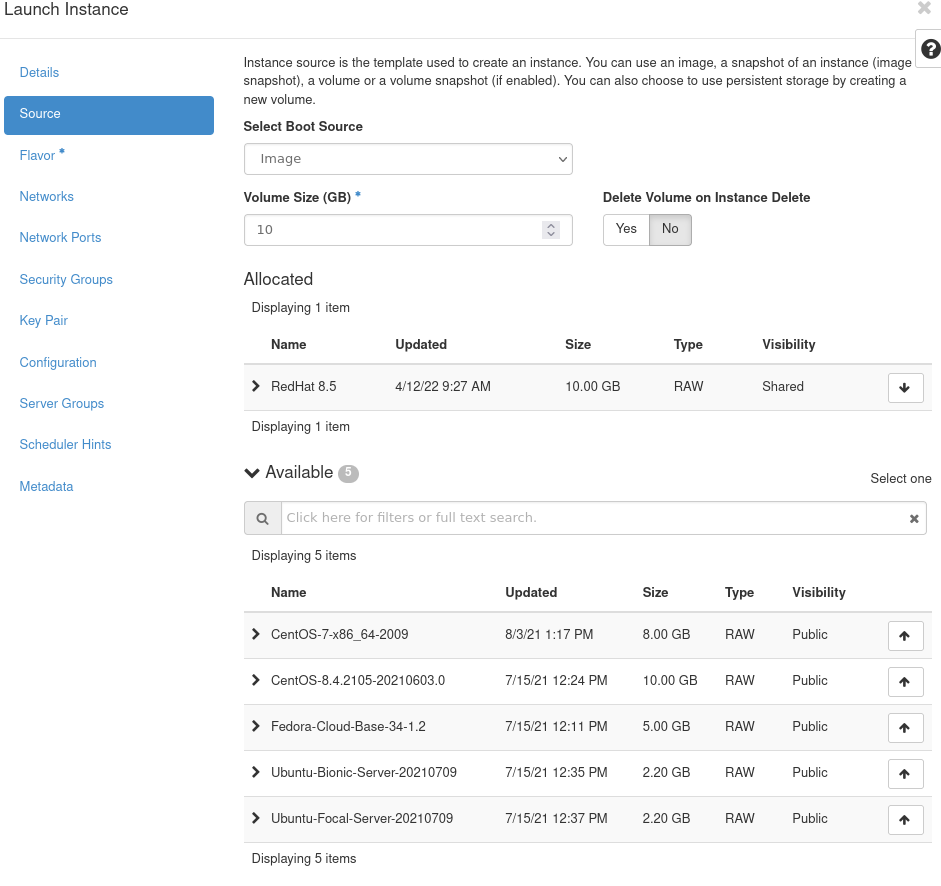
On the next screen, you can leave the default boot volume size as it will be overridden by the volume size of the flavor chosen during the next step. You can enter a size here if you need a size larger than the default for your flavor. By default, this block device is not automatically deleted when you terminate your VM unless you opt-in by selecting for Delete volume on instance delete. See the volume section for more information on how to manage volumes. Click on the next button when you are done.
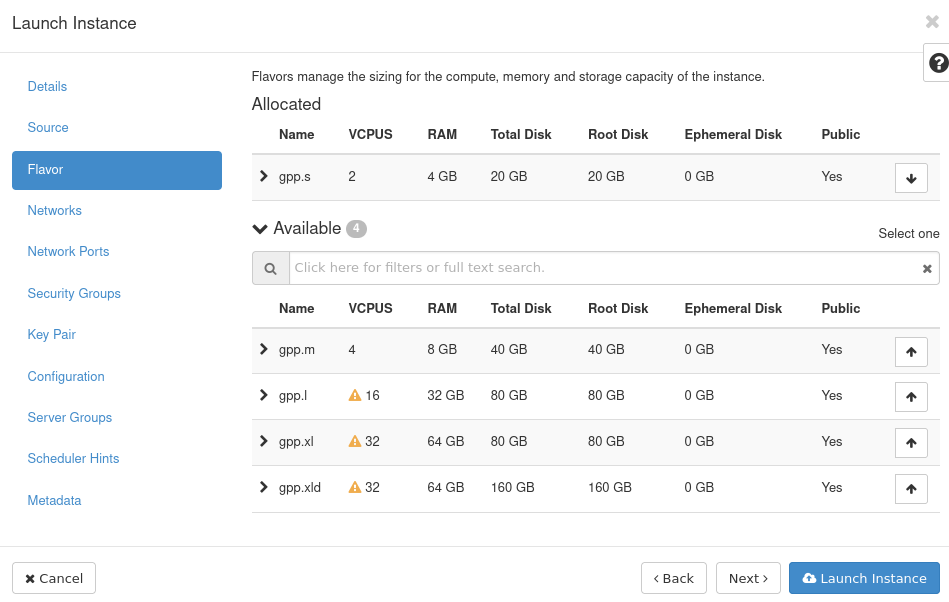
Choose your flavor by clicking Up arrow in front of chosen flavor and click on button. The flavour defines the resources allocated to your VM (CPU, RAM, disk size, etc.)
Verify that auto_allocated_network network is selected and click on button. This private network is created automatically for your OpenStack project. It defines a private subnet from which your VMs will automatically obtain private IPs via an internal DHCP server. This private network is connected to a pre-configured router which provides external connectivity using NAT (similar to a typical home router), as well as the possibility to associate public floating IPs to your VMs.
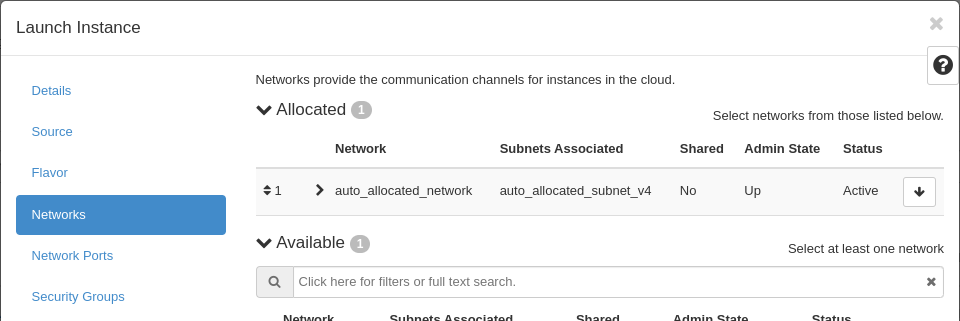
Leave the network port section as default and click on button
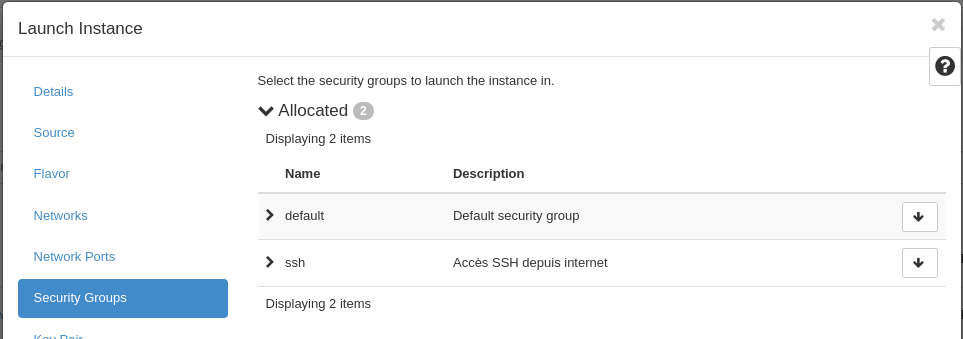
In the security groups section, add SSH by clicking on the up arrow and click on button. By default all ports are closed from the outside of your private network. Each security group allows to open additional ports from other networks or from the public internet. In this case we are opening SSH access from the internet which means it will be accessible from anywhere in the world and needs to be properly secured.
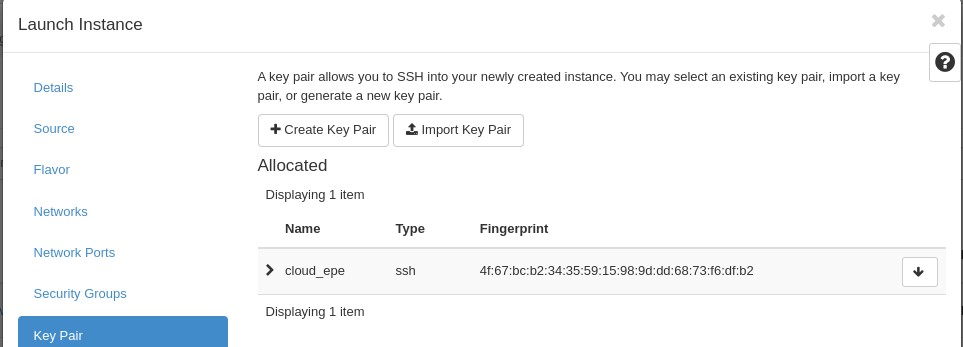
Select the SSH keypair that you created earlier and click on the button. Please note that cloud images typically do not have a default password set (that would be very dangerous considering that anyone could try to connect to your VM using these well known credentials) and that your SSH key will be the only way of accessing the VM.
Once your instance is launched, you can check your instance status by going to Compute>Instances.
As mentioned above, VM instances receive private IP addresses that are only reachable from within OpenStack networks, regardless of the security rules that were setup. To be able to reach your VM from the internet you need to associate a floating IP which is a public internet IP. While private IPs are virtually unlimited, internet IPs are a scarce resource and you will only be able to allocate a small amount of them (depending on the resources allocated to your TGCC project).
While the instance is starting, associate a public floating IP address to your virtual machine by clicking Actions
Once the VM is running, you should be able to reach it via SSH. Target the floating IP you allocated, using your SSH private key and the centos login for a CentOS image, the ubuntu login for an Ubuntu image, and the fedora login for a Fedora image.
# ssh centos@X.X.X.X.
The default cloud user generally has unrestricted sudo privileges
# sudo yum -y install ...